How to use Cloudflare Workers AI
This guide will walk you through the process of setting up Cloudflare Workers AI for the SaySomething mod. Cloudflare Workers AI offers a generous free tier and low-latency inference for various LLMs.
Prerequisites
- A Cloudflare account.
- Minecraft with the SaySomething mod installed.
Step 1: Obtain Cloudflare Credentials
To configure the mod, you need two things from Cloudflare: your Account ID and an API Token.
0. Register a Cloudflare account
If you already have an account, ignore this section.
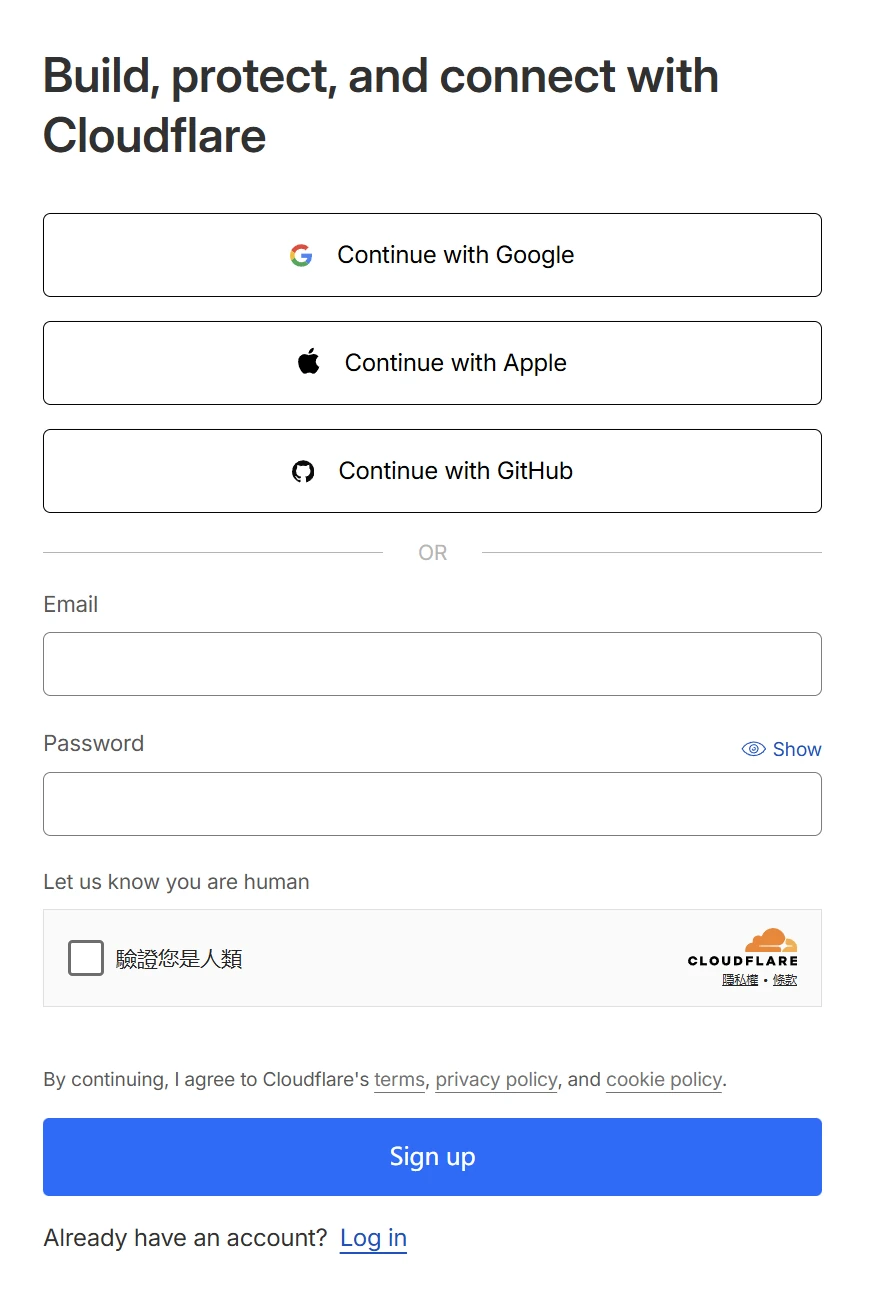
Go to https://dash.cloudflare.com/sign-up and register an account by filling the information they need and click "Sign up" button.
1. Find your Account ID
- Log in to the Cloudflare Dashboard.
- At the time the page is loaded, you will find the URL has changed, which now looks like
https://dash.cloudflare.com/xxx/home/xxx - Copy the
xxxin the URL. It is a string of hexadecimal characters (e.g.,850e0...).
2. Generate an API Token
- With account logged in, go to your https://dash.cloudflare.com/profile/api-tokens.
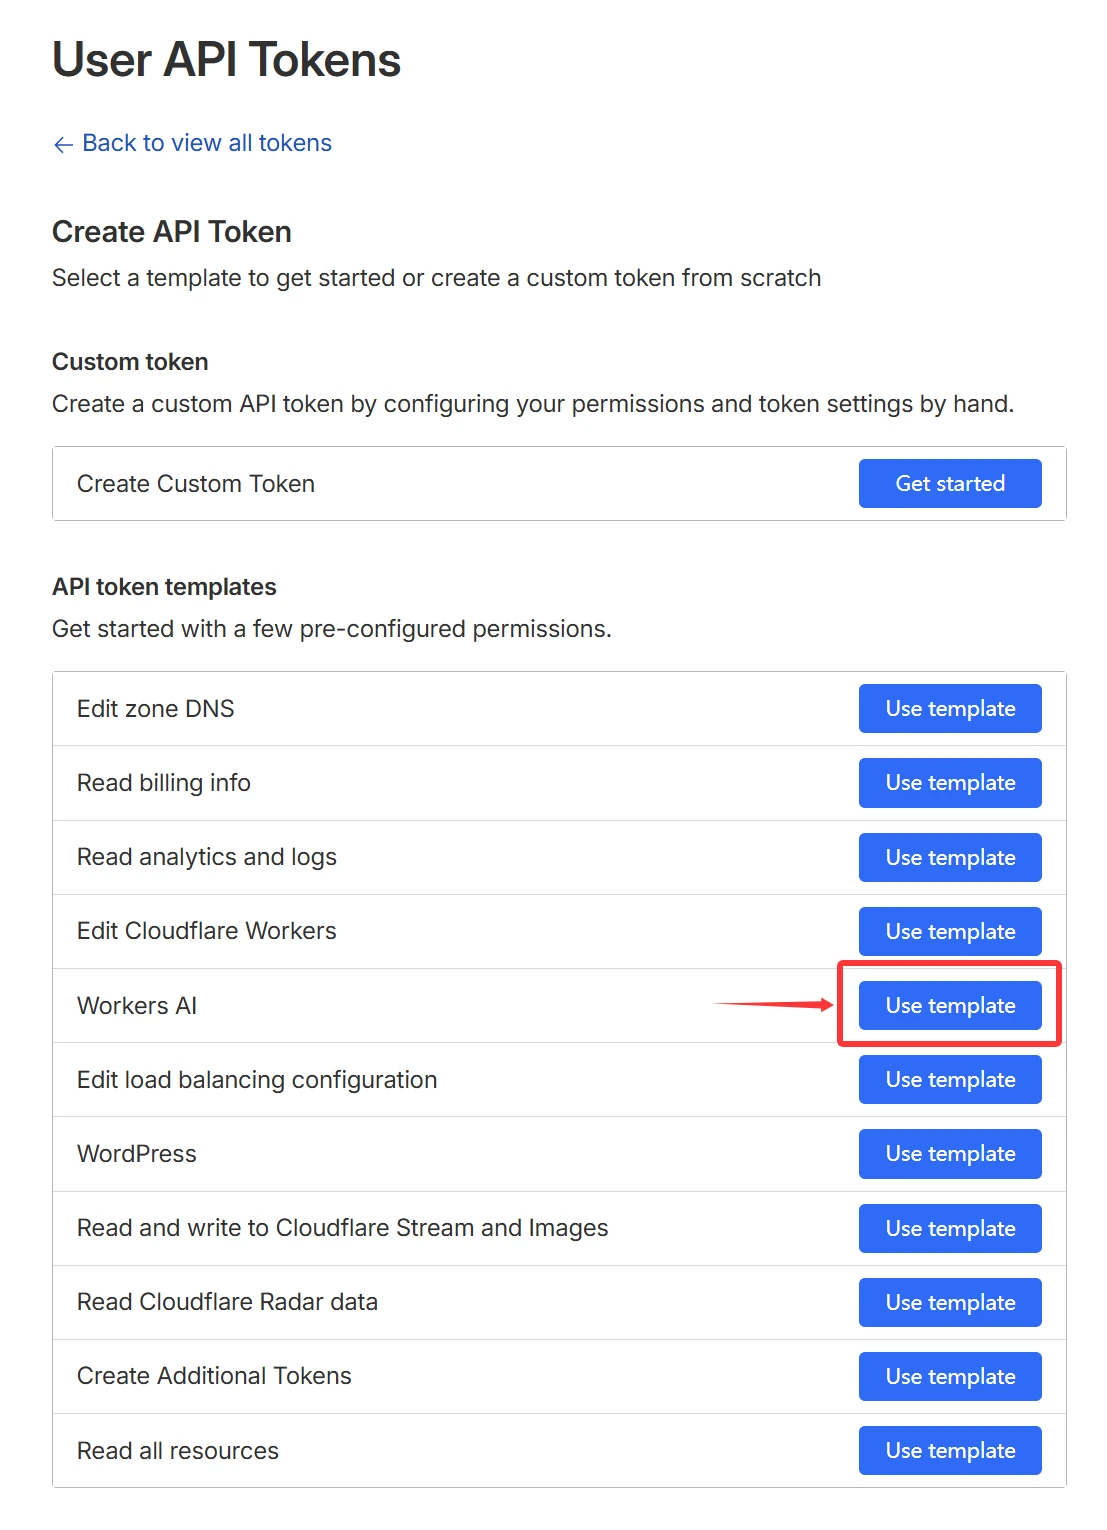
- Click Create Token.
- In API token templates sectio, use Workers AI template.
- (Optional) click the pencil icon after Token name to rename your token.
- In Account resources section, select the proper one (e.g. click the dropdown menu and select your account name).
- Configure other settings, such as Client IP Address Filtering and TTL.
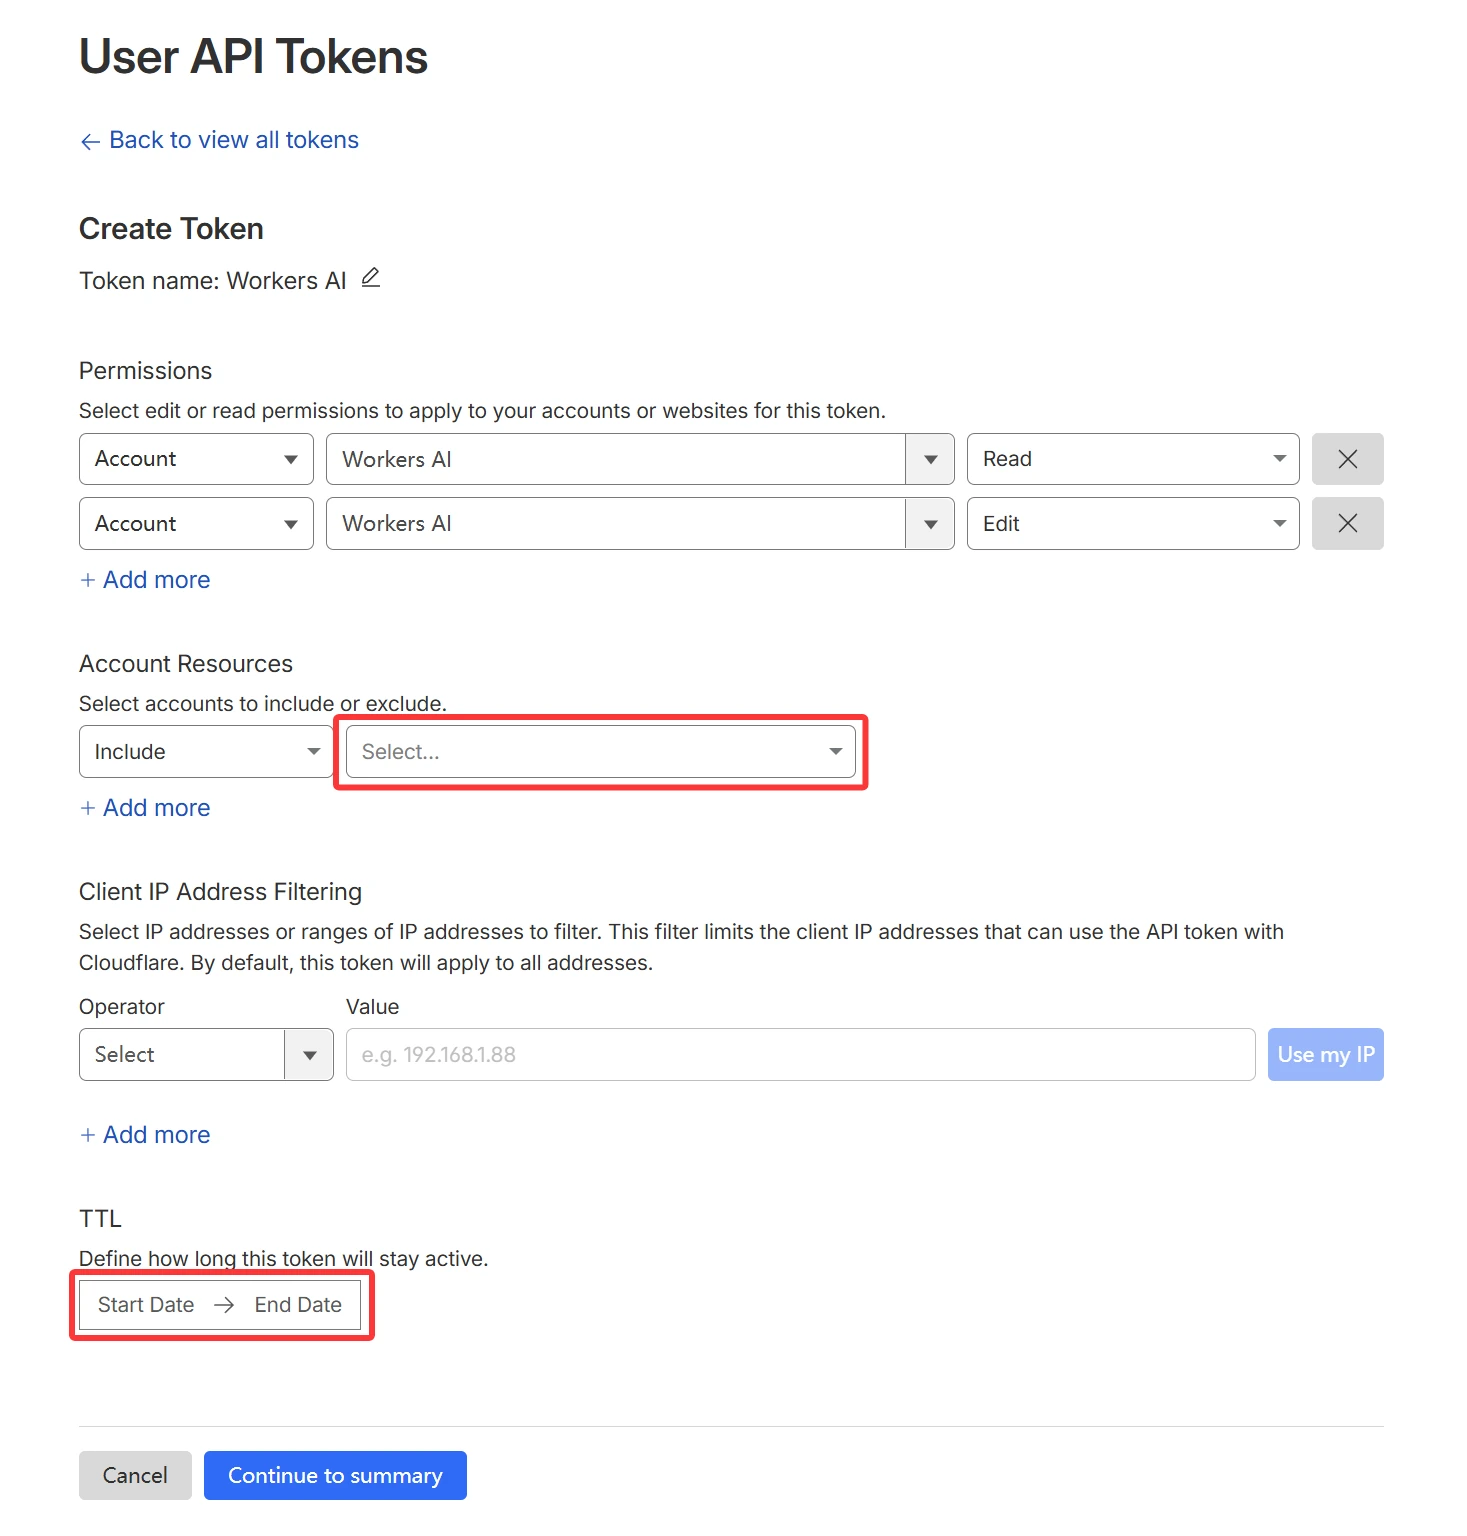
- Click Continue to summary and Create Token to create your token.
- Copy the API Token immediately. You won't be able to see it again.

Do not share your Cloudflare Account ID or API Token. Treat API tokens like passwords: never post them publicly, commit them to version control, or send them to others. If a token is exposed, revoke it immediately and create a new, restricted token (use least privilege and IP filtering).
Step 2: Configure SaySomething
Navigate to your Minecraft instance's config folder.
- Fabric/NeoForge: Go to
.minecraft/config/saysth/.
1. Set the Platform
Open the file saysth-config.json in a text editor. Find the apiConfigPlatform field and change it to "cloudflare".
{
  ...
  "apiConfigPlatform": "cloudflare",
  ...
}
2. Enter API Details
Open the file api-config.json. Configure it with the credentials you obtained in Step 1.
{
    "modelName": "@cf/meta/llama-3-8b-instruct",
    "accountId": "YOUR_ACCOUNT_ID_HERE",
    "apiKey": "YOUR_API_TOKEN_HERE"
}
modelName: The identifier of the AI model to use. You can browse available models on the Cloudflare Workers AI Models page.- Recommended for speed:
@cf/meta/llama-3-8b-instruct - Recommended for quality:
@cf/qwen/qwen1.5-14b-chat-awq
- Recommended for speed:
accountId: Paste your Cloudflare Account ID here.apiKey: Paste your Cloudflare API Token here.
Step 3: Test In-Game
- Launch Minecraft and load your world.
- Find a villager.
- Type a message in chat starting with
$(or your configured prefix).- Example:
$Hello! Who are you?
- Example:
- If configured correctly, the villager should respond within a few seconds.
If the villager doesn't respond or you see errors in the log:
- Check if your Account ID is correct.
- Ensure your API Token has the
Workers AIpermission. - Verify that
apiConfigPlatformis set to"cloudflare"insaysth-config.json.